Total Pageviews

Wednesday, December 4, 2013

Heater Box...

While the body of the cruiser is at the paint shop, I decided to start working on some odds and ends.  First up has been the heater box.  They are notorious for being chock full of dirt, hair, lent, dead things, etc...and mine was no different.  The outside of the heater core was clogged with everything you could thinking, even a few rubber bands!  I felt like it was a biohazard to touch anything in there, it was that bad.

Luckily, it all came apart easily and cleaned up easily as well.  I used my air compressor to blast the debris out of the core, and ran water through it as well to get anything the air wouldn't get.  By the time I was done with it, you could see through it!  Next up was to make sure there were no leak or clogs in the core.  I figured it used to produce good heat (somehow even with all the crap in there), so there weren't any clogs.  I did a mix of muraitic acid and water and poured it in to sit for a bit.  All that came out was a bit of dirt, nothing big.  I did a final flush and all is good.  Next up was stripping the box and painting it.  It had a bit of surface rust but it sanded right off.  After priming and paint, it looked brand new.  The final process was installing the foam rebuild parts.  That was easy as well, but made the fit a bit snug when putting it all back together.  But, it all looks brand new, and should definitely heat more efficiently.


Monday, November 11, 2013

Floor is Done, Body is off to Paint, Roll Bar Complete

Lots of progress over the past few weeks.  A majority of  the time was spent finalizing the body work and finishing the floor.  The body work turned out great with the rear sill, running boards, the tailgate and tire carrier all lining up nicely.  I finished drilling out all the holes and made sure all the filler was sanded down where I thought it was good.  The body looks awesome!  As for the floor...I decided to go with Raptor Bedliner since I could source it locally for cheaper than I could have most anything else shipped.  The process starts with cleaning the floor to remove contaminants and make sure the surface is clean.  Next up was putting down acid etch primer.  This allows whatever you put on top to adhere better to the bare metal.  I was able to use a brushable version which saved a bunch of money, rather than buying multiple cans of aerosol.  The primer required some curing time once finished.  The final step was laying down the bedliner.  It is a two part...so you mix, and use a paint roller to paint it on.  I ended up with 3 coats down with the option of doing a fourth in the future with the left overs.  I think the floor turned out great!  The bedliner should keep it from rusting every again and provide extra protection from scuffs.

Next up was working on getting the body to the paint shop.  One of the families at church brought over their truck and trailer and several guys from work helped load it on the trailer.  The body was strapped down and we made the trip without any issue.  I think John at the paint shop was happy with the body work and said it shouldn't take more than 1-2 weeks to finish.  In the meantime I brought home just about everything else from the paint shop and it all looks great!  Otherwise I've been polishing the chrome pieces which were mostly spray painted over.  They turned out very shiny given the state they were in.  I also sanded down and prepped the roll bar for paint.  It looks brand new!  So...the next post should have the body back from the paint shop and back on the frame...progress!


Friday, October 11, 2013

Bottoms Up...and Done

My main focus for the past couple of weeks has been finishing the body work, getting the floor finished, seam sealing the under side and rubber undercoating it. I finally finished welding in the rear corner patch panels and the rockers and about as straight as I can get them...and I finally got the parts back from the paint shop I needed to finish the rear sill.  The tire carrier bolted together nicely and looks really nice with new shiny nuts and bolts.  I got the final four holes drilled out, and the latch bolt holes on the sill mocked and lined up.  My original guess to where the sill went was only off by a couple millimeters and after a bit of work, everything was lined up...and finally welded in.  Overall, the rear sill looks great...and much more structurally sound.  I can stand on the bed and it doesn't feel like its going to buckle in any more.  After that, I spent days and days sanding and finishing up the body work.  I know its not perfect, I'm not a professional, but overall I think it will look good.  At least everything is smooth...and any flaws should be pretty small.  The paint shop has been pretty good about improving what I've already done...which hasn't been much at all.  My final step on the undercarriage was to rust convert it and get the rubber undercoating on.  The rust converter went on no problem, so it shouldn't rust ever again...and the surface rust that was there, should be neutralized.  The final step was shooting 3 thick coats of rubber undercoat on.  They went on smoothly and it hides a lot of imperfections that I didn't care about since it was the under side of the car.  I am more than happy with the way the rubber undercoating came out!  It really looks great.  Next up will be letting the undercoat cure followed by prepping the floor for lining.  Once that is done, its ready for the paint shop!


Monday, September 16, 2013

Body Work and Paint

Well its been awhile since I've posted, but that doesn't mean I haven't been busy.  First off...I have most of the things I sent to the paint shop back...all that are left there are the hinges, latches and other small stuff.  Everything else is back...and it all looks amazing!!!  I couldn't be happier with the color or how they have turned out.  Now all that is left is for me to finish up the main body and get it to the paint shop.

Speaking of the main body...I have made big progress!  I have the passenger side rocker and floor boards in and blended in...and I have just about got the rear end in.  That involved cutting out the rotten rear corners and sill.  I the bought a full corner and was able to make a patch for the other side.  For the most part they went in very smoothly and my welding is getting better.  Not nearly as much splatter and my bead is much smoother.  Once they were welded in, I got the grinder out and smoothed out the welds.  Finally I mudded in the panels to the rest of  the body.  Finally I put the rear sill in.  I haven't finalized it just yet.  I need to get the tire carrier and tailgate out so I can match and line up pieces, drill out the mounting holes and then finally weld it into place.  Next up will be the driver side rocker and floor patch panels.  Progress!


Thursday, July 25, 2013

Paint...and it Looks Good!!

Well, summer has been busy, but I've managed to get out and work on the Cruiser some.  Lately its all been body work.  Lots of tapping dents out, filling and sanding.  Almost everything has come out very clean and nice!  Sanding takes forever...multi-grit sand papers to get body panels as smooth as possible.  I've been very happy with the outcome of everything though.

The fenders were in the worst shape of all the body panels that came off.  One looks like it'd been gashed and poorly welded up.  I spent a lot of time grinding out high spots and getting everything flat.  I'm overall happy with how they turned out.  The final step in the fenders before paint was to rust convert and rubber undercoat.  I used Eastwood Rust Encapsulator Rubber Undercoating.  It went on smooth, but took a lot longer to dry than I anticipated.  I am happy with how it turned out.

I finally decided on a paint shop in Pueblo.  I ended up with John Mares Paint and Body on the south side of town.  He came recommended to me by a couple of different people I talked to, and after meeting him, you could tell he is one of the honest good guys in town.  So I loaded up all the pieces that are ready for paint and dropped them off.  After a couple of weeks I was able to pick up a few panels...and I really like the Rustic Green!  I couldn't be happier with the paint job either.  If the rest of the Cruiser turns out this good, it will be stunning!

I still have lots of body work to do on the main tub.  I've cut out most of the rust and fitted most replacement panels.  Before long I'll be welding them in, finishing the body work and getting it off to paint.


Thursday, June 13, 2013

grind...fill...sand...repeat...paint...

I think the most tedious part of this restoration so far has been the body work.  While most of the parts are virtually rust free, there are a few areas that needed some work.  I started on the miscellaneous pieces first since I know the body will take awhile.  So far those pieces have taken 30+ hours of work...grinding out the areas of surface rust...filling them...then sanding them down.  Its all by hand...with 6 different grits of sandpaper.  The end result is nice smooth surfaces, hopefully ready for paint!  So far all the panels except for the lower doors, hood and fenders are done.

I finally decided on a paint shop here in Pueblo to do the work.  I settled with John Mares who came recommended by several people...for doing good work at a good cost.  I should be able to get the Cruiser painted for under $2k which was my goal.  So, I loaded up my parts that were ready and they are now off to the paint shop for paint.  I should get them back sometime in the next couple of weeks...and I should be able to drop off the panels I'm still working on soon.  Can't wait to see results!


Thursday, May 16, 2013

Cutin' out Rust and Making Body Panels

Its been awhile since I last posted, but that doesn't mean I haven't been hard at work on the Cruiser.  All the paint has been stripped, including all the little odds and ends.  I can say that all the little latches, hinges, brackets, etc were a pain in the rear.  The abundance of paint and clear coat meant I had to find a way to strip them.  My process ended up being:  paint stripper, wire wheel what I could, hand sand with sand paper and finally sand blast what I couldn't get with the other methods.  It took forever, much longer than I had originally anticipated.  But they are done!

In the past few weeks I've been busy ordering materials to remove the rust, weld in new panels and figuring out what products to use for the floor lining and undercoating.  As for the undercoating, I ordered more rust converter to neutralize the surface rust that exists, even after a good cleaning along with Eastwood Flexible Rubber Undercoat and Encapsulater.  It shouldn't chip, its flexible and will cut down on road noise.  As for the flooring, I decided on Durabak bed lining.  A lot of people seem to like the way it goes down and covers.  This should provide a great protection for the floor.  Also in the mix has been trying to figure out a paint shop to use.  I've been pretty disappointed in responses from different shops...all seem interested, but don't show up or call back.  The good news is that they are all about the same in price...a tad bit more than I was hoping for, but not by much.  I think I have finally decided on a shop though.

So lately I've been hard at work cutting out rust and ordering/making body panels.  The rust overall isn't too bad.  I've known all along I was going to have to replace the rockers, work on the rear corners and repair a few places on the floor.  The only things I've ordered pre-fabbed is a rear corner patch panel and the rear sill.  Everything else I'll make on my own.  Today I started the rocker panels.  Flat piece the three sides that have a 90 degree fold.  I spent some time trying to figure out how to do this, but in the end they turned out pretty good!  The hardest pieces yet are the patches on the quarter panels that butt up against the rockers.  It has a curved lip.  I didn't get it perfect, but overall I'm happy with the results.  I can always shape them into the correct form later.  Next up will be continuing to form floor panels and other small areas.  And finally welding...


Friday, March 8, 2013

The Topside is Void of Paint!

Lots of progress made over the past couple of weeks.  My main goal was to get the top side of the body stripped.  I mostly had it done, with areas I couldn't reach with the wire wheel left to do.  The easiest way to get those areas was by sand blasting.  I must say I'm not a huge fan of sand blasting...it makes such a huge mess...and no matter what you have covering your eyes...you always seem to get blasting media in there.  But the good news...I am done blasting for a bit...at least until I get the body flipped and need to do the bottom.  Actually, that is my next goal...get the thing flipped upside down so I can sand the bottom.  I think it will go quickly...not nearly as much surface area as the top, and definitely not as many tight areas to blast.  Hopefully I can get that done around by the second week of April.  Then its replacing a few panel, some body work and then hopefully to paint!


Thursday, January 31, 2013

U Joints, Parking Brake and Paint Removal...

Well its been awhile since I last posted, but that doesn't mean I haven't been busy out on the Cruiser.  The last few weeks have been about putting things back together and lots...and I mean lots of paint removal.

U-joints...can I just say they suck all around?  Well they were a pain coming out, and just as much a pain going back in!  I basically destroyed them coming out.  I used a hammer, an old socket and myself to beat them out.  The front u-joints came out no problem...I think they have been replaced sometime in the no so distant past.  But the rear drive shaft...I think they were the original ones.  They took me some time to get out and I had needle bearings all over the place!  Once they were out though, I was able to paint up the drive shafts and flanges and have them looking new.  The new u-joints were a bit easier, but still not the easiest thing in the world.  Basically I used the same method for taking them out, but much more carefully and with a rubber mallet instead of a sledge hammer.  They eventually went back in and the drive shafts were complete.

The parking brake was a mess.  The rear output seal of the T-case had failed and transmission fluid had leaked inside and basically became a solid mass.  It took some work...lots of soaking in thinner, but everything eventually loosened and I was able to clean, paint and put the parking brake back together.

Next up was to install the parking brake on the T-case and the drive shafts.  The front drive shaft went in without any problem.  The parking brake installed with no problem.  The rear drive shaft...problem!  Apparently with all the modifications I made to the rear suspension, the distance from the parking brake to the rear third member flange has shrunk and the drive shaft is about 1/4" too long now.  I figured it would have been the opposite...shorter than the distance.  At least in that case I would have some slack with the slide yoke.  My guess...without the weight of the body and interior, the rear suspension is not at the proper location...basically it needs the weight to push the shackles out and increase the distance from the T-case to the rear axle.  I guess I'll test that theory in a few months.

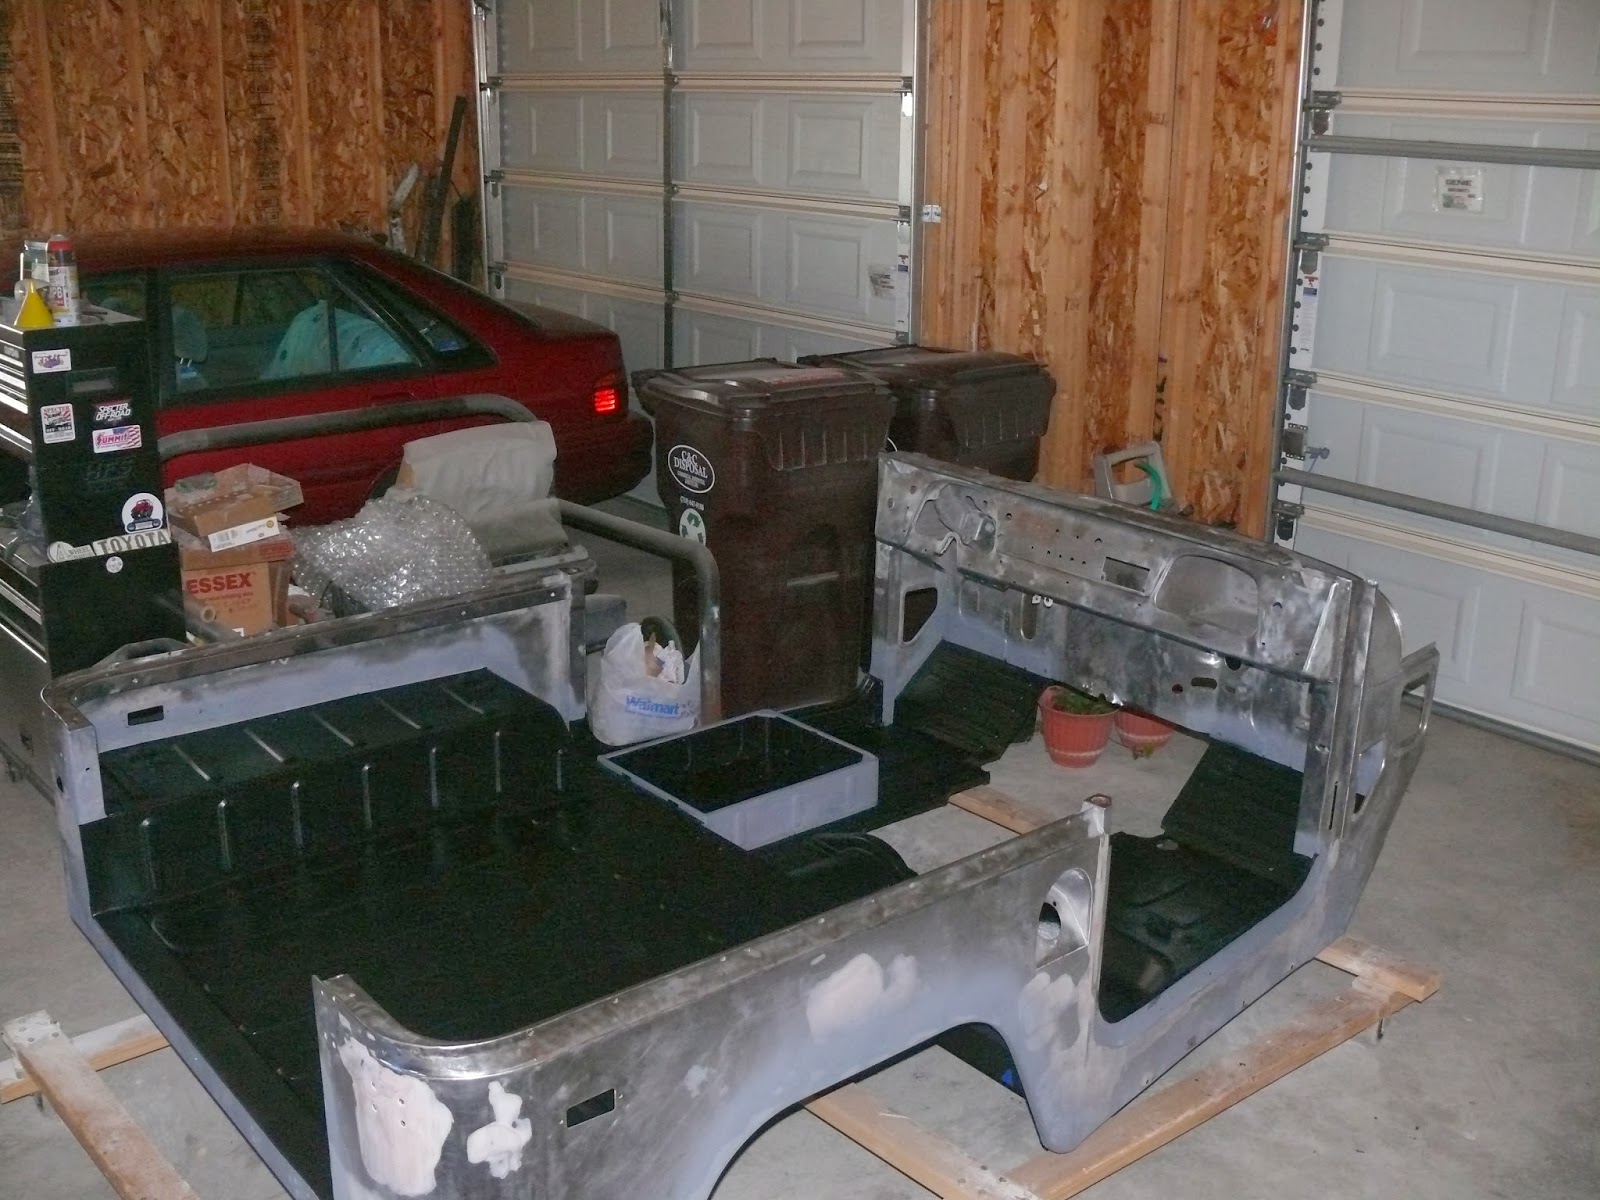
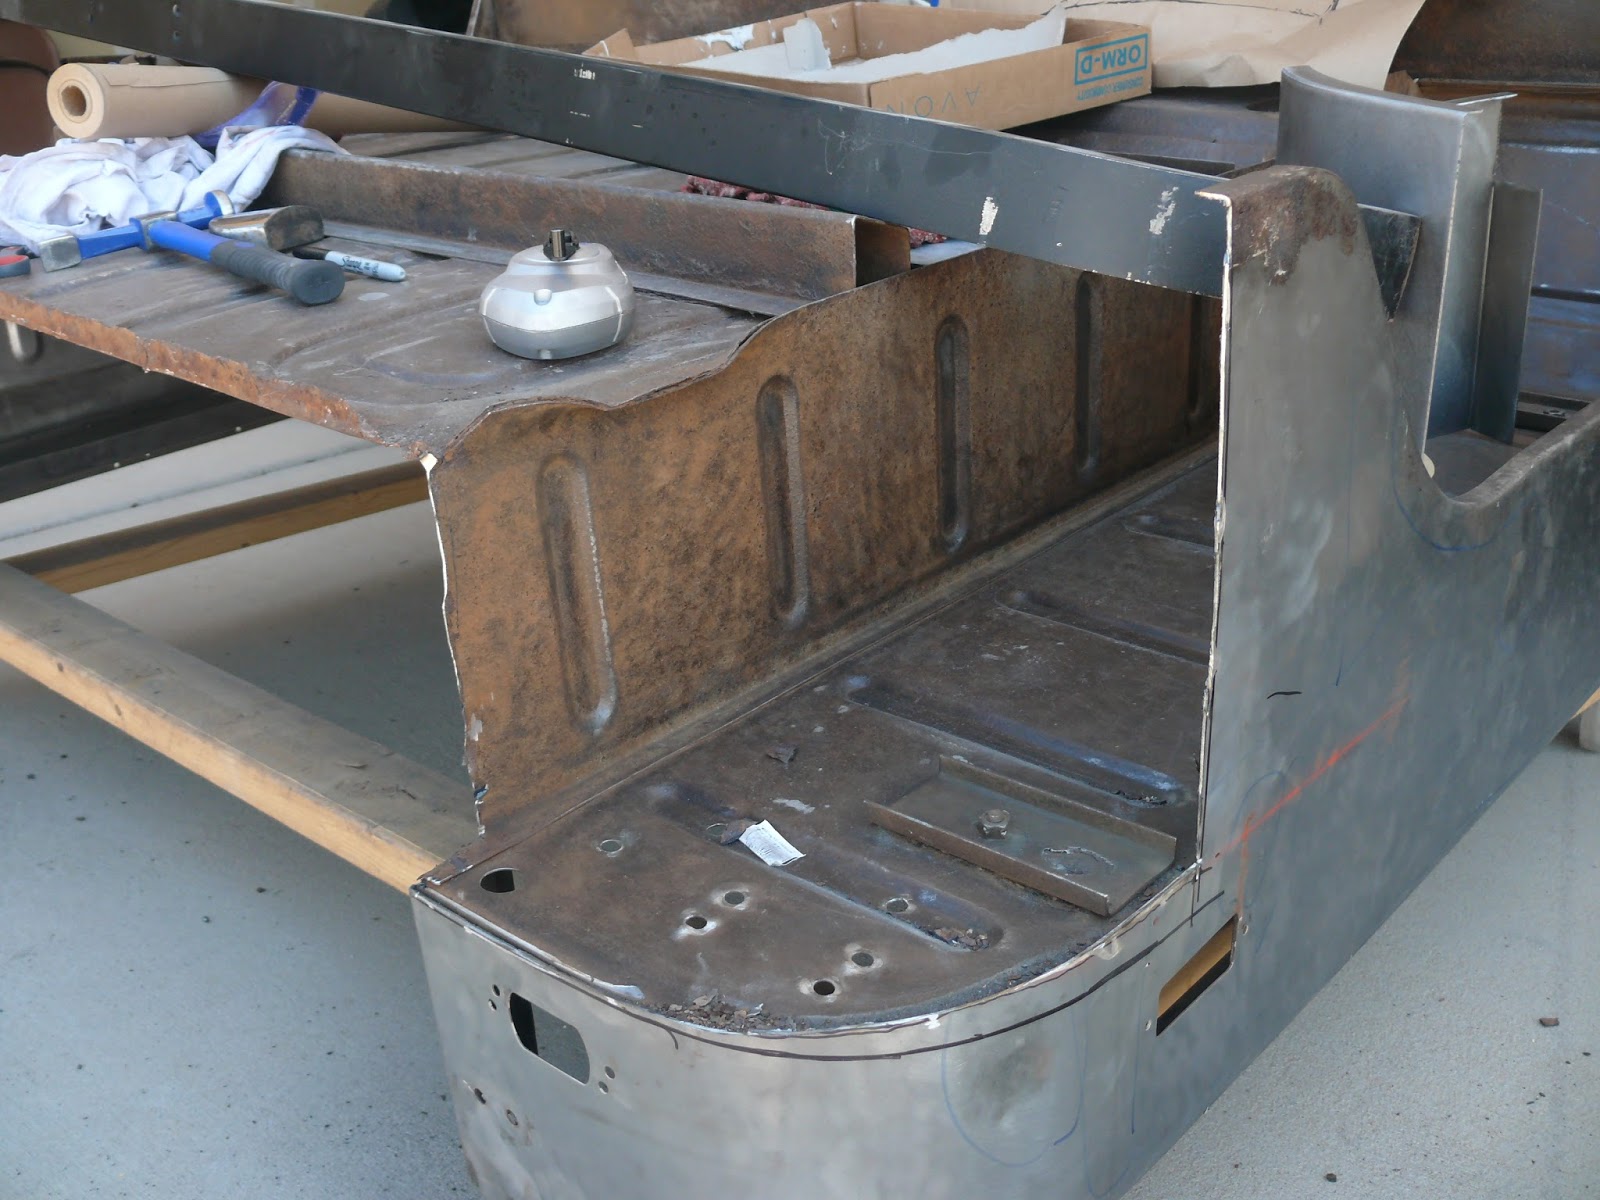
Otherwise its been all about paint removal.  I'm very close to having it done!  The top side has a few areas that need to be completed, but for the most part its finished.  I am trying to figure out what to do about under the dash.  I figure I'll clean, sand and just leave the old paint on.  Nobody will see it and rust doesn't seem to be a huge issue under there.  So far the only metal I'll need to replace...the outer rocker panels on both sides, the rear sill, and patch panels on the lower rear quarter panels.  I'll also have to fill a couple of spots in the bed but that shouldn't be too bad.  I'll also have to work on the driver side flow pan...I can see the ground through a few holes.  My goal is to get the paint removal done in the next week or so, then flip the body and sand the under side.  I know its mostly surface rust under there, so that will clean up nicely.