Total Pageviews

Wednesday, March 21, 2012

Putting Things Back On...

Well...the paint has dried...I've made a trip to buy stainless steel metric hardware and I've started to bolt things back on.  This part of the process goes much quicker than the tear down.  Just line up the holes, insert the bolts and ratchet them home.  Its amazing how the newly painted pieces look on the car.  So far...battery tray is installed, 4WD linkages, center arm, tow hooks and new axle bumpers.  I also found out today that my Old Man Emu 2.5" lift kit shipped today.  Should be here by the weekend.  Progress is being made!


Wednesday, March 7, 2012

Warmer Weather Means Painting!

Well its been awhile, but that doesn't mean I haven't been working.  My main goal recently has been to get parts painted so I can start the rebuilding process.  The parts I was worried most about where the axles, steering components and odds and ends for the engine, steering and 4WD linkage.  I was thinking I might have to replace the rods for the steering since they had a serious case of rust, but after some cleaning they looked brand new so I reused them!  The axle tear down required me to remove the brake lines and hardware.  Not the easiest task in the world, but I finally managed to break everything loose.  With the warm weather over the past few days, I was able to get everything painted.  Everything looks awesome!  Next up...lift kit is ordered, so its a matter of waiting until it comes in...then knuckle rebuilds...


Monday, January 30, 2012

Engine Basically Complete!!

Well its been awhile...and I haven't had much chance to work on the Cruiser lately, but finally...some warmer weather and some time off work and I have made some great progress.  My goal for was to have the engine basically finished by the end of January...and mission complete (minus the radiator hoses which I'll get when I get the radiator).  Most of my time this past weekend was figuring out what parts I needed.  The fuel system was pretty straight forward...new fuel pump, new hard lines, new soft lines...bolt on and you're done.  My only issue was trying to bend the hard line.  The first tube bender I bought broke...so I had to go back and get it replaced and now the hard line is installed.  The soft lines were much easier...measure...cut...slip on where they go and clamp them down. 

The ignition and distributor were a bit harder.  Turns out the dizzy and ignition coil were off another vehicle and who knows what.  My thought is that when somebody installed the tach they needed the electronic part of the ignition coil and jerry-rigged something together to get everything to work.  The folks at the auto parts store finally figured it all out...the distributor came from a late 70s Camero and the ignition coil from a mid 80s Buick (all this on a 1970 GMC truck engine!).  So after a few phone calls (thanks Uncle Tom) we determined that I could use (and it would probably be better for the engine) the original 1970 distributor and ignition coil which saved me about $200!  Installing the distributor was a pain.  My main problem was that I couldn't get the shaft all the way into the hole.  Turns out the #1 cylinder is supposed to be top dead center and mine wasn't...so it was a guessing game as to when it was.  I tried removing the spark plug and turning the crank shaft trying to feel for the vacuum to be generated.  All I really felt was air moving out.  So more research lead to the brilliant idea of putting a screwdriver into the spark plug hole and turning the crank shaft.  When the screwdriver lifts up...the cylinder is top dead center (or very close).  That did the trick and the dizzy dropped in.  Lastly it was just install the plug wires and hook up the vacuum line and it was complete.

The only things left on the engine are the temperature sending and oil sending units...have to figure out how to get a Toyota unit (so I can hook up the original dash gauges) to a Chevy motor.  From what I've seen the only thing you have to do is by a plumbing fitting from metric to standard...so we'll see.  Then there are the radiator hoses...but that will come soon enough!


Friday, December 16, 2011

Carburetor Rebuild...Sounds Hard...Looks Hard...Actually Pretty Easy...

Well, rebuilding of the motor continues.  I finally purchased a carburetor rebuild kit, mostly for the gaskets to remount it to the manifold, but also to replace a few of the parts.  So I watched a few videos online and was a bit intimidated by all the small parts.  In reality, I only used a few of them.  For the most part the difficulty is in making sure all the linkages can go back together and that takes some work.  But for the most part its just a big puzzle and having lots of pictures and diagrams helps.  After some cleaning, it looks much better, and all the parts went back in...so its a matter of it working when I go to start it up when I'm to that point...whenever that will be!  Other recent work includes oil filter and spark plugs.  Next up...fuel pump and distributor...and then I'll pretty much be finished with the motor.  Progress!


Wednesday, November 30, 2011

Motor...T-case and Tranny painted...

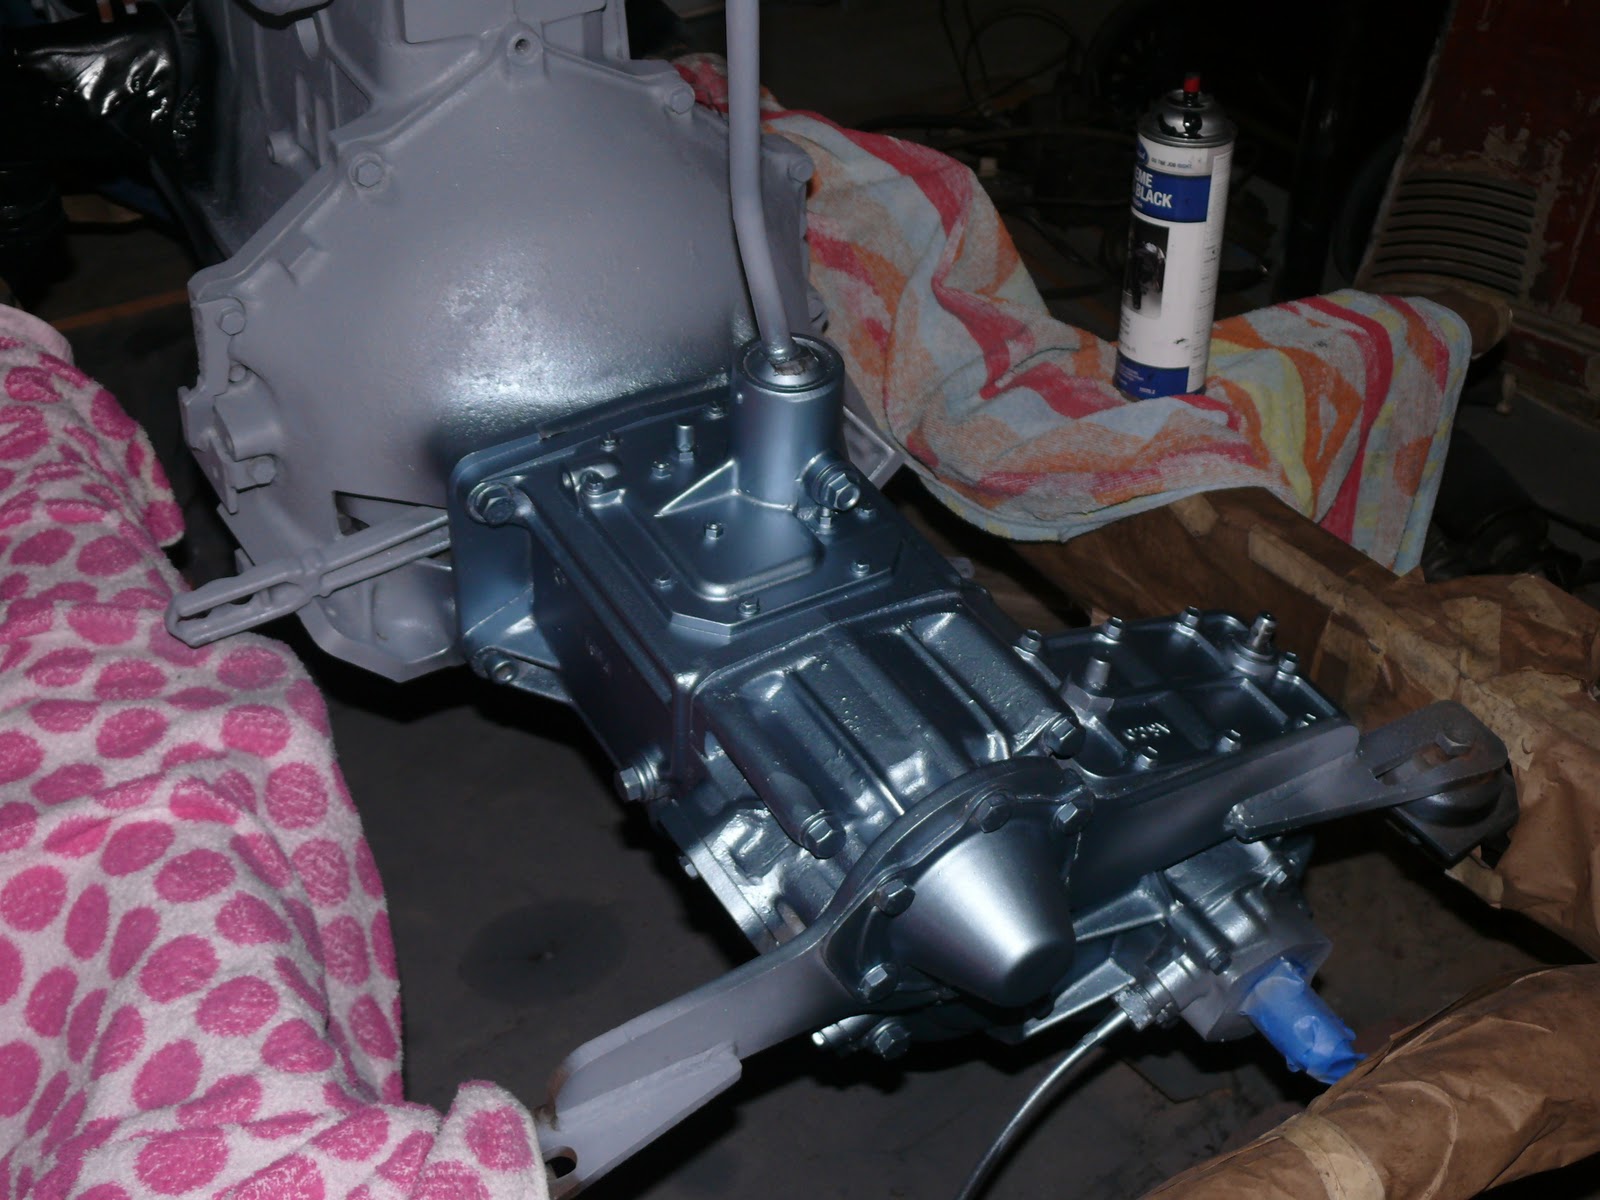
Its been a couple of weeks...mostly sorting out my paint situation.  I ordered three products to paint the motor, T-case and transmission...high temperature primer, high temperature metallic silver and high temperature black.  So my first box had the metallic silver...and clear coat...hmmm...I didn't order clear coat.  Called...yep...they sent the wrong thing!  So the primer I didn't get was sent right away.  But...no black paint.  I called...its coming from the east coast warehouse...4 phone calls later and it finally gets sent.  Something about lots of missing paper work.  But...its here and I finally got the drive line painted.  I began by masking the mounting holes with tape and paper so paint would stay outside the motor.  I then primed the everything.  I thought it looked great just in primer!  Its amazing how it looks all cleaned up with a fresh surface.  I followed the primer up with metallic silver on the transfer case and transmission.  They are originally aluminum and never painted...so thought painting them would bring out the shine.  Since I didn't have the black engine paint I decided I would use the frame paint on the engine mounts and the transfer case bracket.  I had to mask the t-case which took some time since I did some intricate work there.  Both turned out great!  Finally my engine paint arrived.  I masked some more and shot a couple coats of black.  AMAZING!  It looks awesome!  I think people will also get a laugh out of my "paint booth."  I hung parts being painted using string and hung them from the roll cage...nothing like improvising.  Next up...getting the engine put back together...


Saturday, November 12, 2011

Engine Cleaning...One Big Messy Job

Well the frame is complete...so on to the next item of business...the engine, transfer case and transmission.  I decided to give the mechanicals a good going over...see where they leak, what needs replacing, etc.  For the most part they are in GREAT shape.  The transfer case is a replacement...SOR replacement which means a quality rebuild at some point.  I know using it before the tear down it worked just fine.  Now it looks clean too.  The transmission is the original.  It cleaned up nicely but has lost its silver coloring.  The engine...very messy but very clean now.  I went through about two cans of engine degreaser and several bottles of water...along with several pairs of gloves.  It was tough getting all the little angles and such...but feel it turned out well.  I managed to take most of the workings off the motor so I'll have to replace some seals...no biggie there.  Other things I'll be replacing...all hoses...they were spray painted on!...the belts...the fuel pump and all lines...along with the spark plugs and wires.  So overall it won't be too expensive.  The other thing I will be doing is painting.  I ordered primer...aluminum metallic for the t-case and tranny...and satin GM black for the motor and bell housing.  I wanted something generic so I could paint the car any color and it would go with it.  I think it will look great! 

I also received my bumperettes in the mail this week.  On my way back through Springs...I stopped and picked up some stainless steel hardware...and now have them mounted up.  Man do they look great!  Got a good deal on them too! 

I also managed to get the parking brake off the t-case...and now know why it never worked.  The rear seal on the drive shaft leaked out...and the whole parking brake assembly was filled with fluid and grime.  So I guess I will be ordering a rebuild kit for the brake which includes the t-case seal...and hopefully it will work when I'm done! 


Tuesday, October 25, 2011

Frame 95% of the way done

Been a busy last week out in the garage.  My goal was the get all but where the jack stands are sitting done on the frame before the cold weather hits.  Mission accomplished!  All that is left on the frame is the very front corners and a cross member behind the transmission.  Not much work left at all on the frame.  And let me tell you...it looks amazing...doesn't even look like the same frame!  Amazing what the work looks like when you're finished.  In other news...I borrowed a nice long breaker bar this week and managed to get all but 2 lug  nuts off.  It wasn't an easy task...they were frozen on pretty good.  The last two are ones that I mangled awhile back and will most likely need to be ground off.  But that means as soon as the frame is done, I can jump into the axles.